
The Best Fluffy Pancakes recipe you will fall in love with. Full of tips and tricks to help you make the best pancakes.
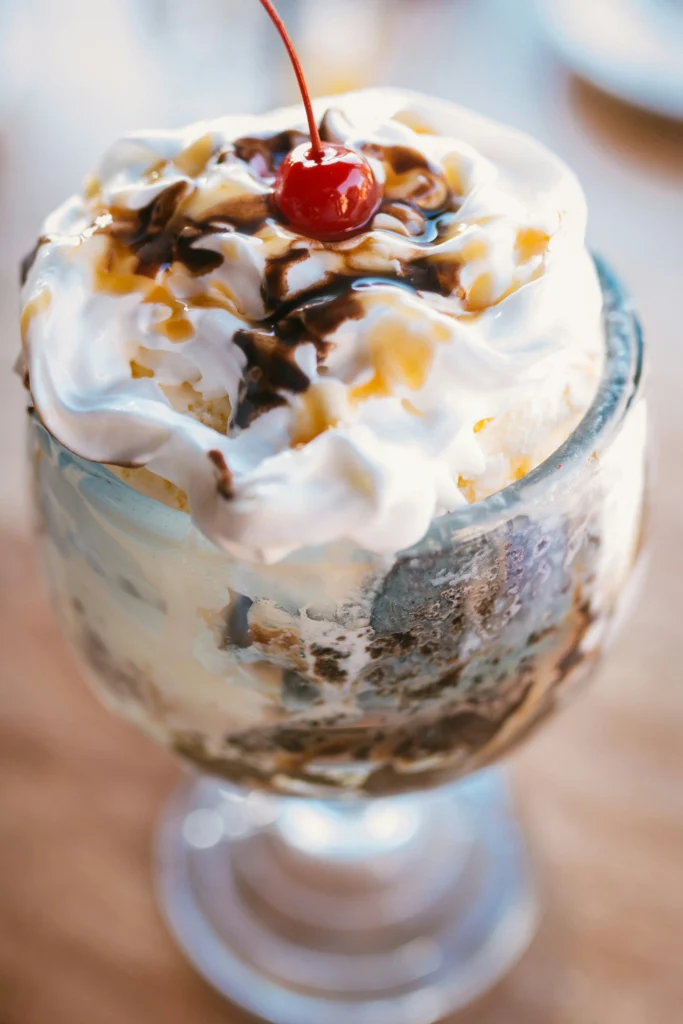
Making caramel ice cream at home is a rewarding experience. It allows you to customize flavors and textures to your liking.
Imagine the aroma of caramelizing sugar filling your kitchen. The process is simple yet satisfying, perfect for dessert enthusiasts.
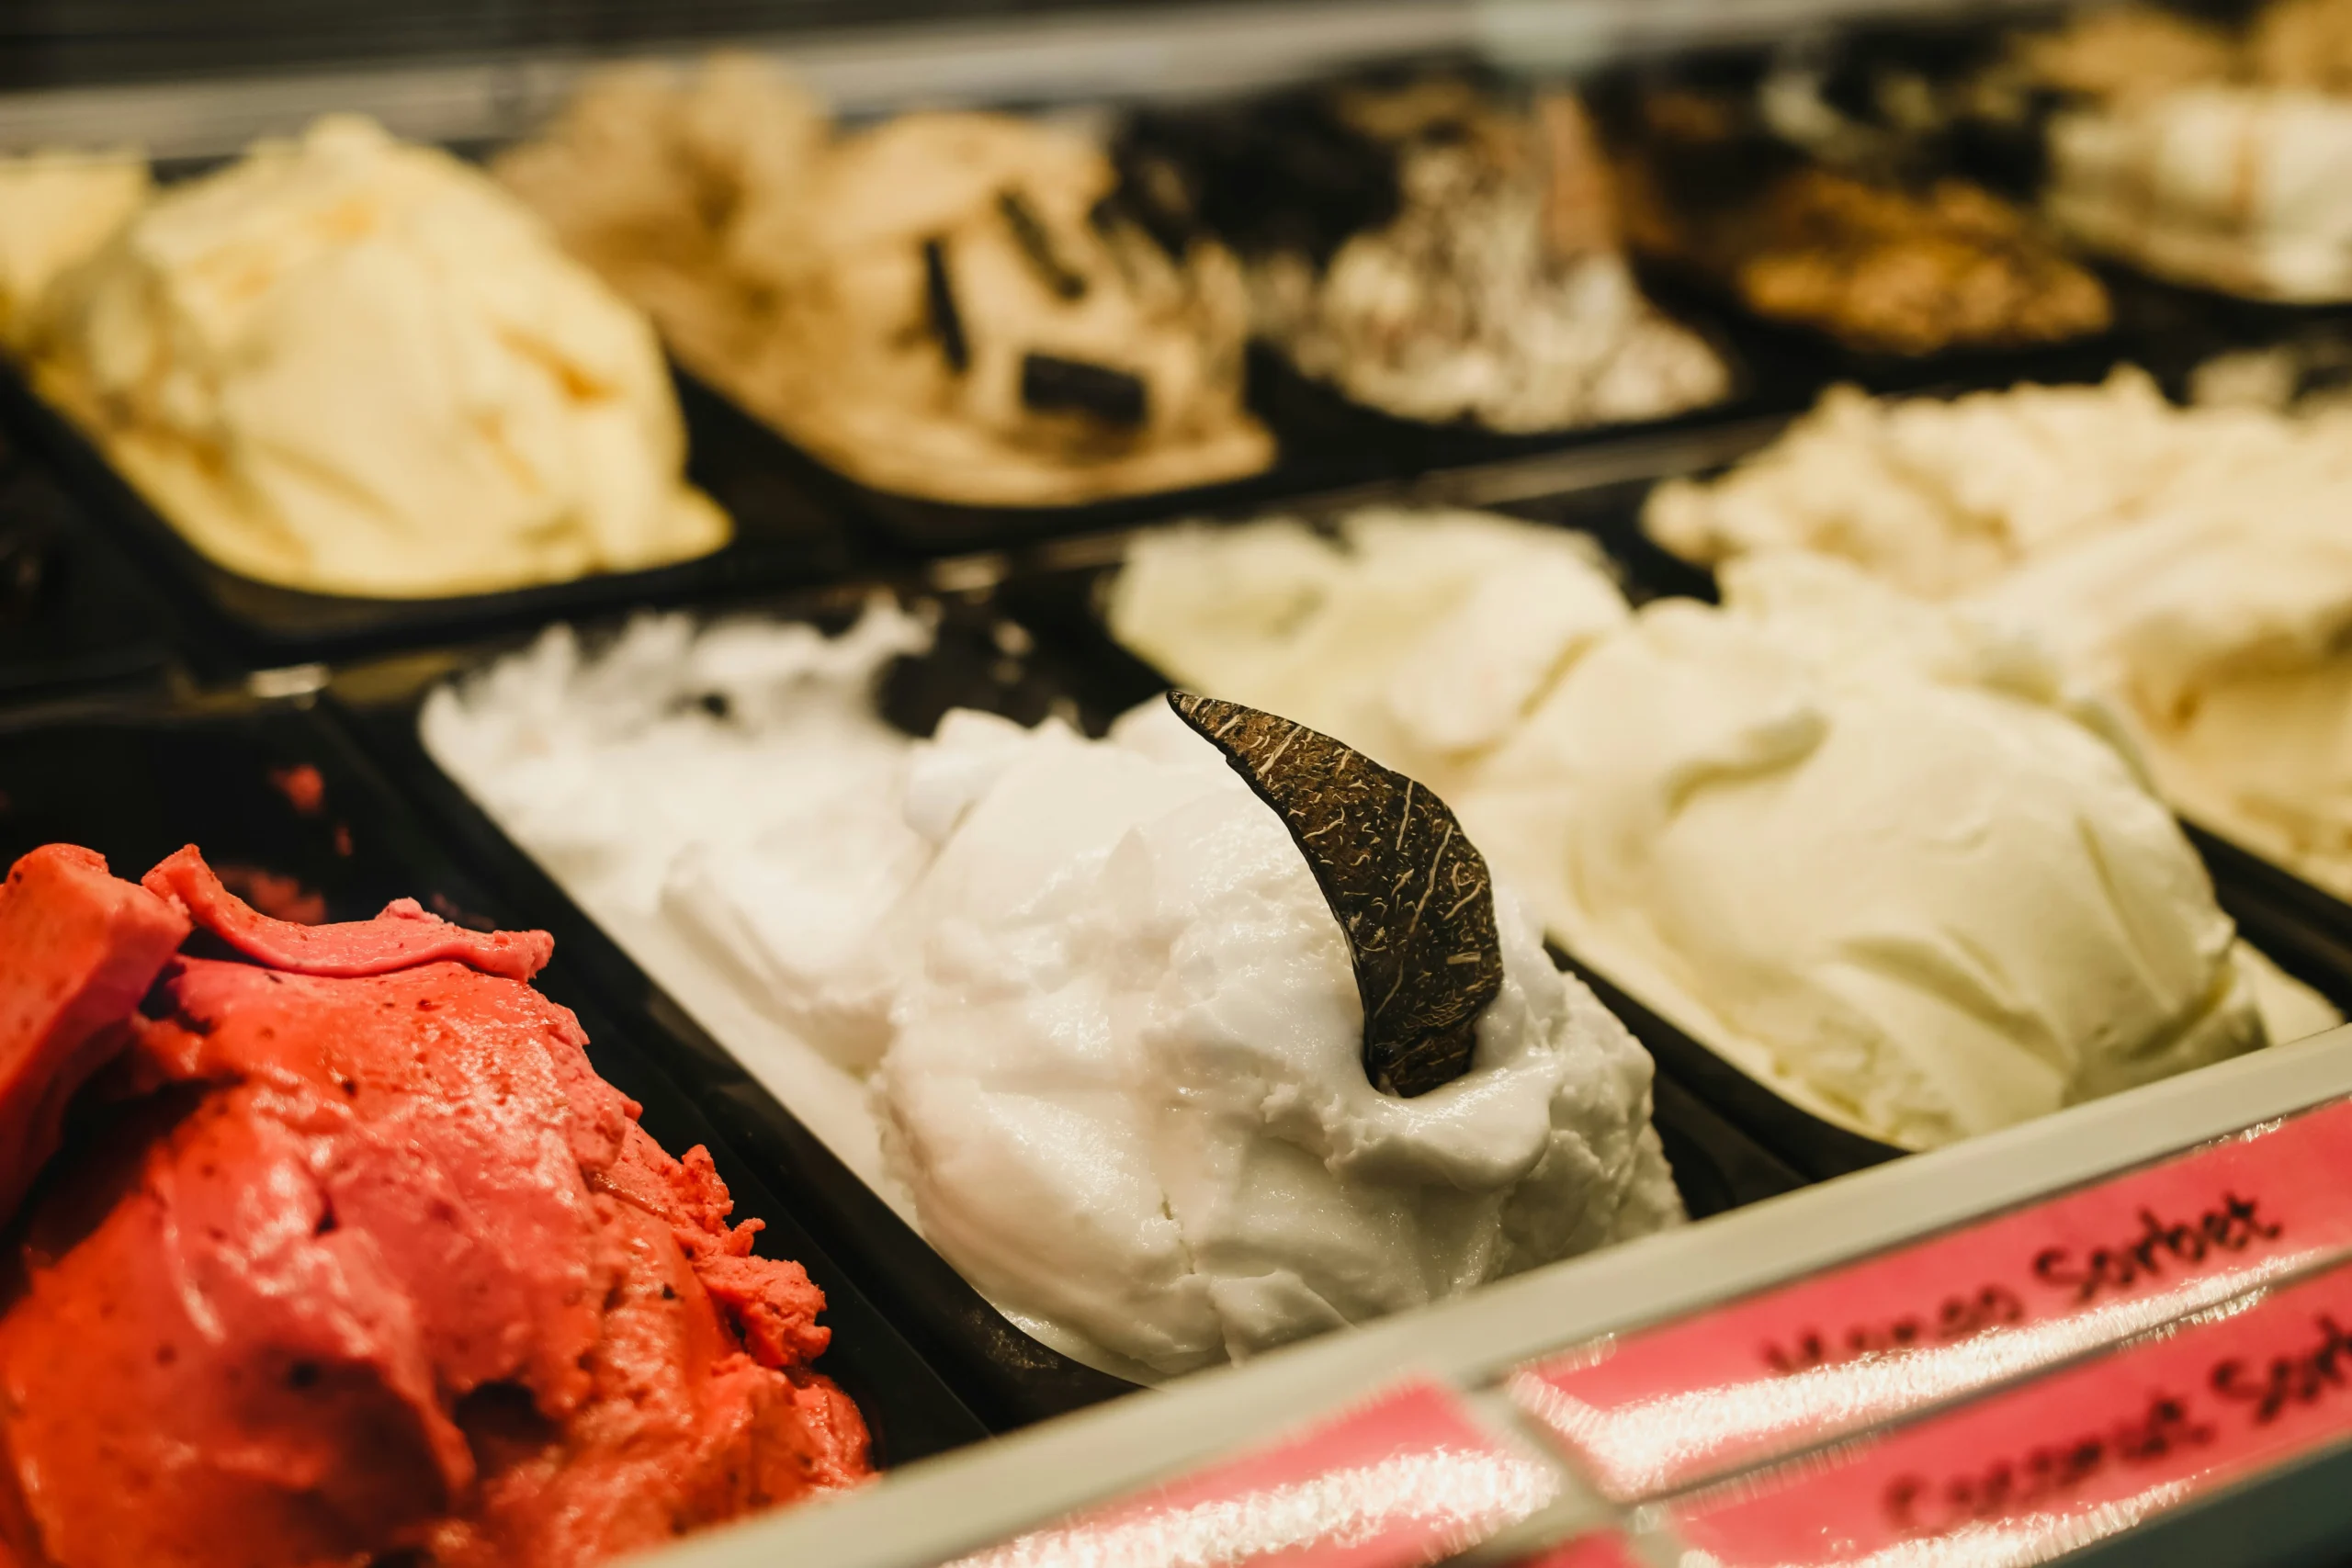
Whether you prefer classic caramel or a salted twist, this recipe has you covered. Salted caramel adds a delightful balance to the sweetness.
Using high-quality ingredients enhances the flavor of your ice cream. Fresh cream and pure vanilla extract make a noticeable difference.
Why Make Caramel Ice Cream at Home?
Homemade caramel ice cream offers a personal touch that store-bought can’t match. You control every ingredient, ensuring the best quality and taste.
The process of making ice cream can be a delightful activity. It becomes a fun opportunity to experiment with flavors and textures.
Here are a few reasons to whip up a batch at home:
- Customize sweetness levels and add unique mix-ins.
- Avoid preservatives and artificial flavors found in commercial ice cream.
- Enjoy the satisfaction of creating a gourmet dessert from scratch.
Crafting your own ice cream is both a culinary adventure and a rewarding experience. Once you’ve tried it, you’ll want to make it again and again.
Ingredients for Caramel Ice Cream
Creating a delicious caramel ice cream requires only a few essential ingredients. Using high-quality components will enhance the flavors significantly.
Here is a list of what you’ll need:
- Granulated sugar for making caramel
- Heavy cream for richness and smooth texture
- Whole milk to create a balanced base
- Egg yolks for a custard-like consistency
- Unsalted butter to add depth to the caramel
- Pure vanilla extract for a fragrant touch
- Pinch of salt to balance sweetness
These ingredients come together to create a rich and creamy ice cream. Assembling them is the first step towards a delightful homemade treat.
Step-by-Step: How to Make Caramel for Ice Cream
Crafting caramel is both an art and a science. The process requires care and attention to detail.
Start by gathering your ingredients. You’ll need granulated sugar, unsalted butter, and heavy cream. Each plays a crucial role in achieving the perfect caramel consistency.
First, place the sugar in a heavy-bottomed saucepan. Heat it over medium heat, allowing it to melt undisturbed. Stirring can cause crystals, so let it gradually transform into a golden liquid.
Once the sugar has melted completely and reached a deep amber color, remove it from heat. Quickly stir in the butter until fully melted. This step requires patience as it might bubble up vigorously.
Finally, incorporate the heavy cream carefully, stirring continuously. The mixture will froth at first, but will soon settle into a smooth, luscious caramel. Stirring continuously at this point is key to a uniform texture.
Allow the caramel to cool before using it in your ice cream. This cooling process is essential to prevent any curdling when combined with the base.
Making the Ice Cream Base
The ice cream base forms the heart of your caramel ice cream. It must be rich and creamy to complement the caramel.
Begin by gathering your ingredients: egg yolks, sugar, heavy cream, whole milk, and vanilla extract. These create a custard-like texture that’s essential for good ice cream.
In a medium saucepan, combine the milk and cream. Heat the mixture over medium heat until it begins to steam, but avoid letting it boil. This delicate heating prevents the base from curdling later.
Meanwhile, whisk the egg yolks and sugar in a separate bowl. Slowly add the hot cream mixture to the egg yolks, whisking continuously. This process is known as tempering. It ensures smooth integration without cooking the eggs prematurely.
Return the mixture to the saucepan. Stir it constantly over medium heat until it thickens enough to coat the back of a spoon. Remove it from heat and add vanilla extract for a fragrant finish.
With the base prepared, you’re now ready to blend it with the cooled caramel. Follow these steps for an ice cream that’s smooth, creamy, and perfectly infused with caramel flavor.
Combining Caramel and Ice Cream Base
Once your caramel has cooled, it’s time to marry it with the ice cream base. This step is crucial for a uniform caramel flavor throughout.
Gently pour the caramel into the prepared ice cream base. Use a spatula to fold the caramel into the base delicately. This method helps ensure the caramel integrates smoothly without forming lumps.
Mix until the caramel is evenly distributed, creating a luscious blend. Ensure there are no streaks of unmixed caramel. This thorough combination process sets the stage for the creamy, delicious caramel ice cream you’re about to churn.
Churning and Freezing: Achieving the Perfect Texture
Churning is vital to creating smooth and creamy caramel ice cream. An ice cream maker simplifies this step significantly.
Pour the caramel-infused base into the ice cream maker. Follow the manufacturer’s instructions, typically churning for 20-30 minutes. This process incorporates air, resulting in a light, fluffy texture.
Once churned to your preferred consistency, transfer the ice cream to an airtight container. Place it in the freezer for several hours to firm up.
Key Tips for Perfect Texture
- Keep your ice cream maker bowl well-frozen before use.
- Avoid over-churning; it can affect texture.
- Let the ice cream rest in the freezer for at least four hours before serving.
Salted Caramel Ice Cream Variation
Adding a touch of salt can transform your caramel ice cream into an irresistible treat. The salt enhances the rich caramel flavor, creating a perfect balance of sweet and savory.
To make salted caramel ice cream, add sea salt to the caramel sauce before combining it with the ice cream base.
Simple Adjustments for Salted Caramel:
- Use 1/2 teaspoon of sea salt.
- Stir the salt into the warm caramel, ensuring it dissolves.
- Taste and adjust the saltiness to your preference.
No-Churn Caramel Ice Cream Method
If you don’t own an ice cream maker, worry not! The no-churn method is a simple alternative. It allows you to enjoy creamy caramel ice cream without special equipment.
This method requires only a few ingredients and minimal effort. The result is a decadent treat you’ll love.
Simple Steps for No-Churn Ice Cream:
- Whip 2 cups of heavy cream until stiff peaks form.
- Gently fold in 14 ounces of sweetened condensed milk and 1 cup of caramel sauce.
- Mix thoroughly and freeze for at least four hours.
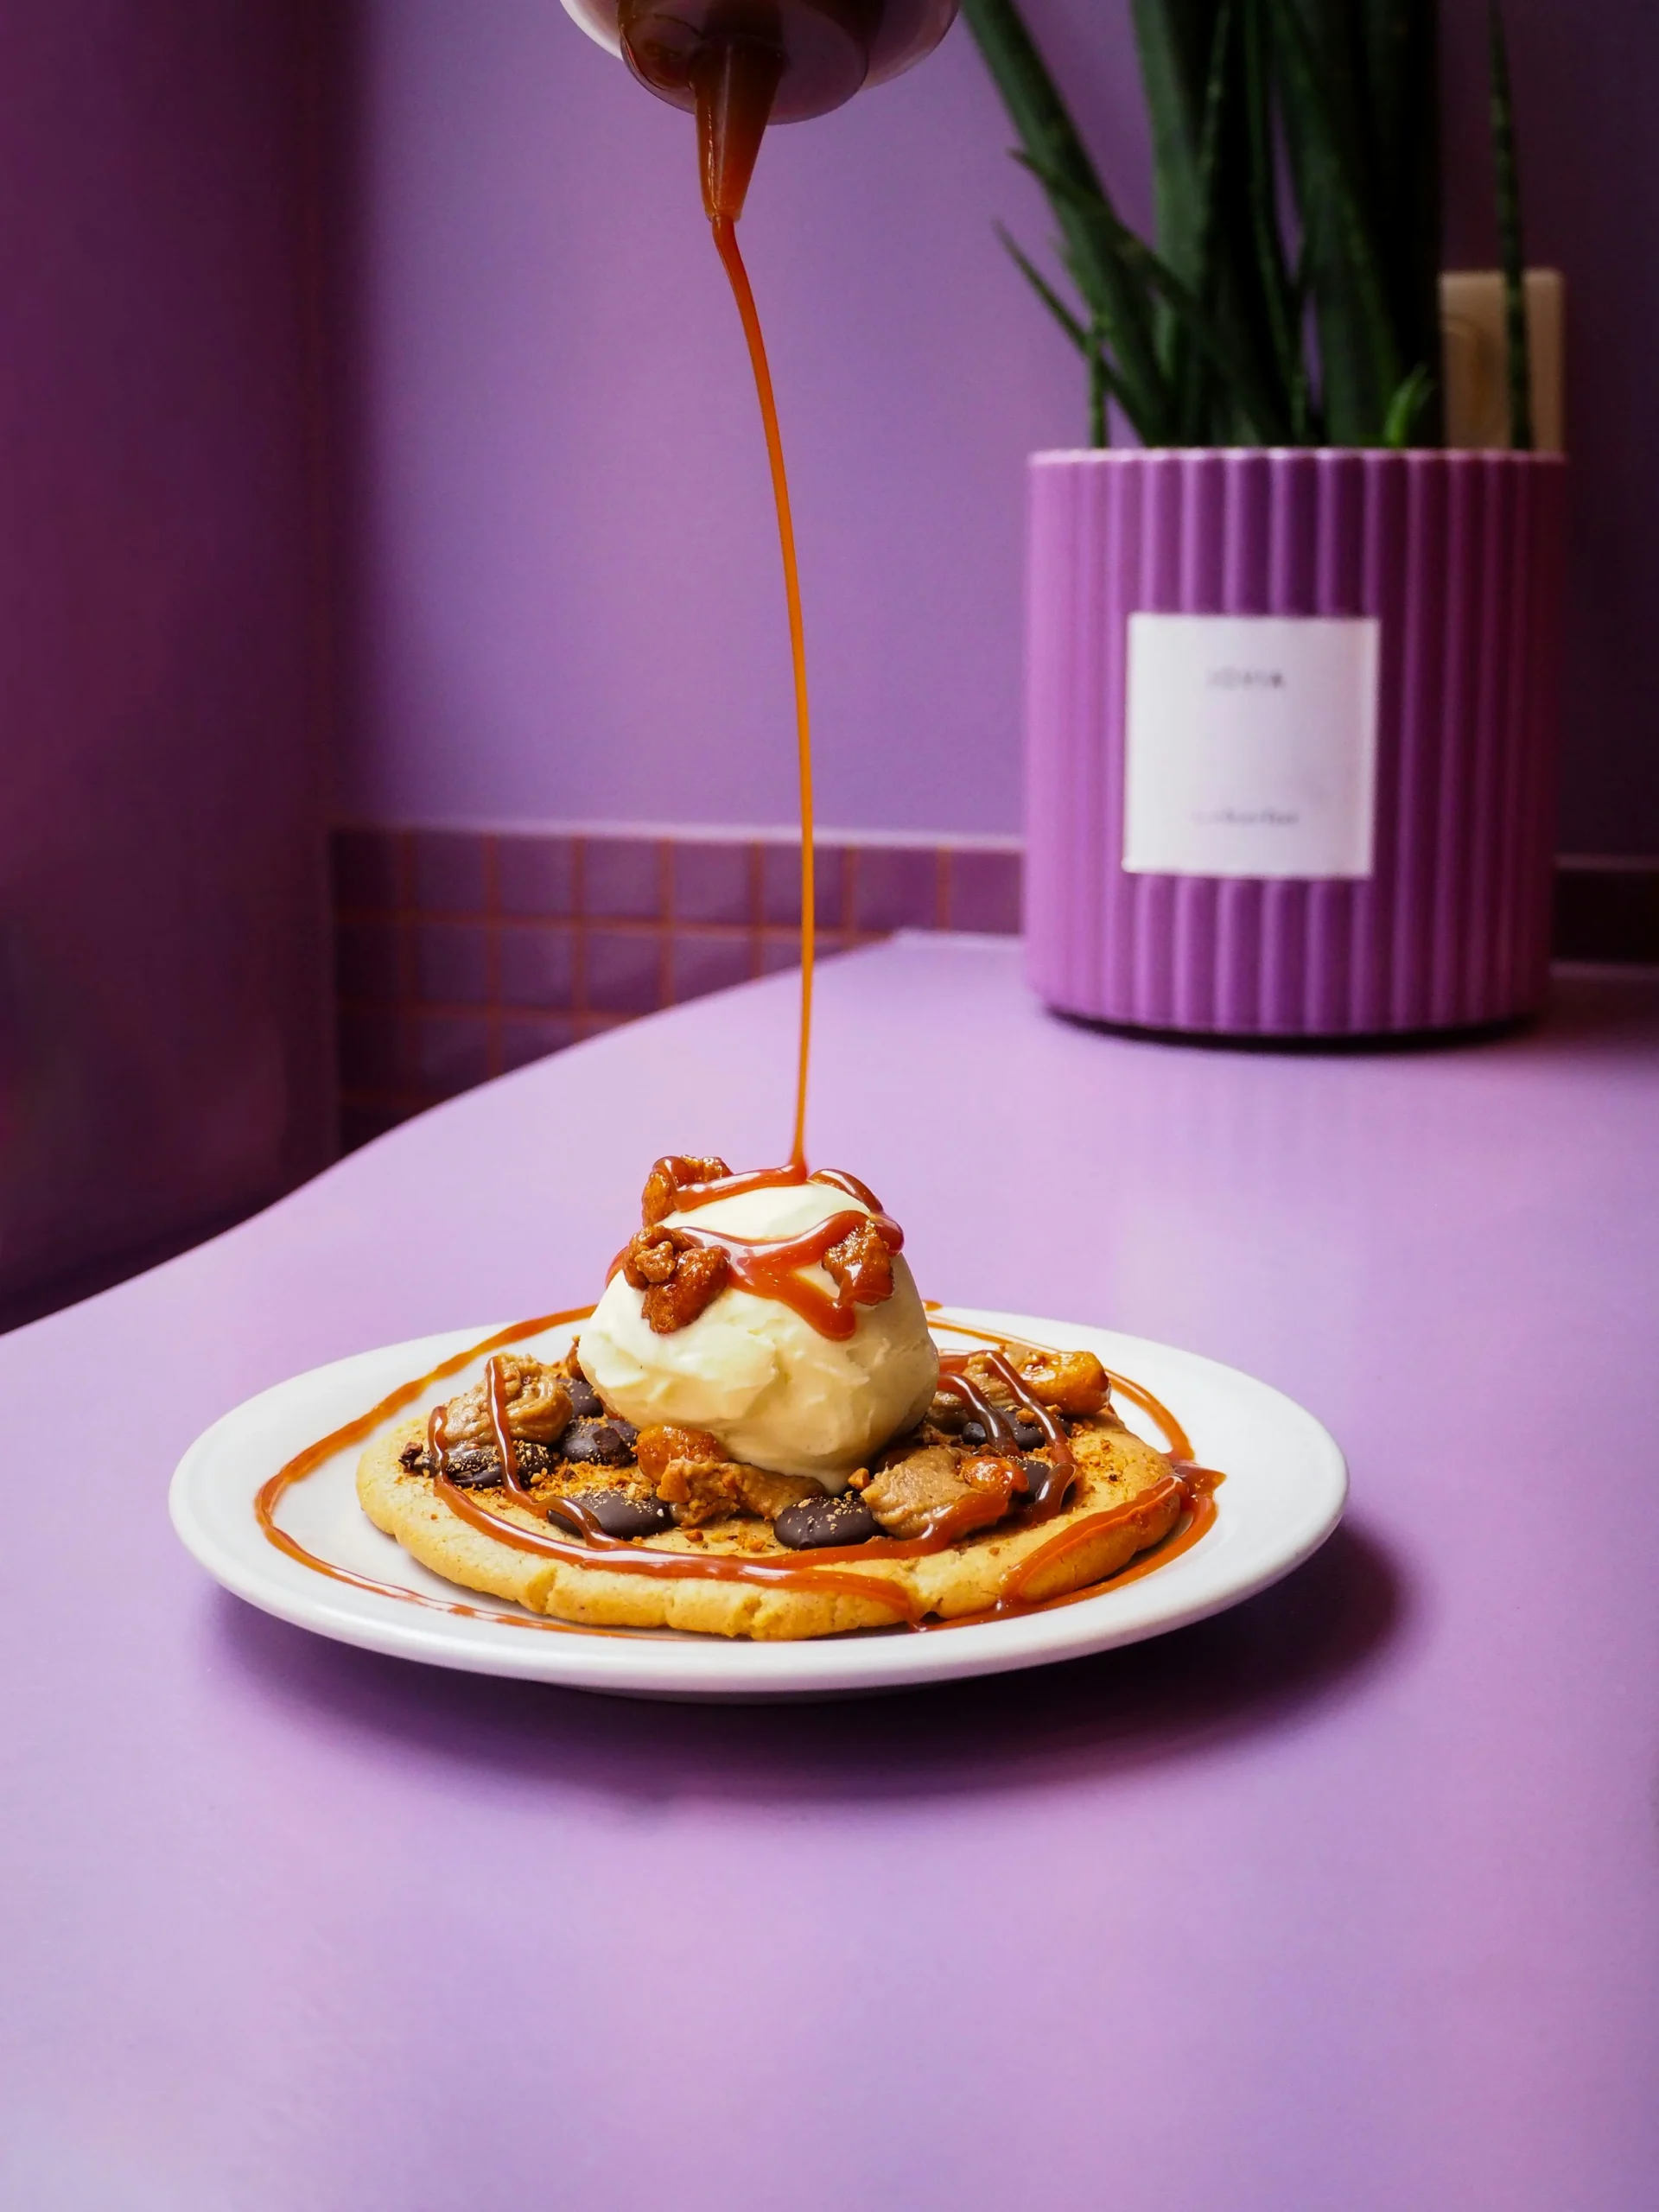
Caramel Swirl and Tasty Add-Ins
Enhancing your caramel ice cream can elevate its flavor and visual appeal. Adding swirls or mix-ins creates delightful texture contrasts. It’s a chance to customize your creation and experiment with different flavors.
Consider incorporating crunchy or chewy ingredients for a pleasing crunch. These extra treats make every bite unique and exciting.
Delicious Add-In Ideas:
- Swirl in extra caramel sauce before freezing.
- Add crushed cookies or bits of toffee.
- Sprinkle in roasted nuts or chocolate chips.
Tips for the Best Homemade Caramel Ice Cream
Crafting the perfect caramel ice cream requires some finesse. Start with high-quality ingredients for the best taste and texture. This ensures your dessert has a rich, flavorful base.
Pay attention to temperature control, especially when making caramel. Too much heat can burn the sugar, ruining the flavor. Patience is key for achieving smooth and creamy results.
Pro Tips:
- Use a candy thermometer for precise caramel.
- Chill ingredients in the fridge before mixing.
- Store ice cream with plastic wrap on top.
These steps help avoid common pitfalls and create a delightful homemade treat.
Serving Suggestions and Pairings
Caramel ice cream isn’t just a dessert—it’s a versatile delight. Perfect on its own, it can also elevate various dishes. The creamy texture pairs beautifully with rich or fruity flavors.
Try These Pairings:
- Serve over warm apple pie.
- Top with chocolate shavings or nuts.
- Pair with freshly brewed coffee.
Whether solo or paired, it’s a sweet addition to your meal. The possibilities are endless, making it a favorite treat for many.
Storing and Freezing Homemade Caramel Ice Cream
Proper storage is key to enjoying fresh and creamy ice cream. Always store your homemade caramel ice cream in an airtight container.
Tips for Storing:
- Place a layer of plastic wrap directly on the ice cream surface.
- Keep it at the back of the freezer to maintain a consistent temperature.
These steps help prevent ice crystals and preserve its rich flavor. Enjoy your ice cream anytime with these simple storage tips.
Frequently Asked Questions
How can I prevent ice crystals in my ice cream?
Ensure the ice cream base is cooled before freezing. Use an airtight container to keep it fresh longer.
Can I make caramel ice cream without eggs?
Yes, you can use condensed milk and heavy cream for a no-churn option. It’s simple and just as delicious.
What other flavors pair well with caramel ice cream?
Consider adding flavors like coffee or chocolate to enhance the experience. You might enjoy experimenting with subtle spices too.
Additional FAQs:
- How long can homemade ice cream last?
- Are there vegan alternatives?
- Can I use store-bought caramel sauce?
Final Thoughts: Enjoy Your Caramel Ice Cream!
Making caramel ice cream at home offers a rewarding experience. This sweet endeavor lets you explore flavors that delight the taste buds. Each creamy scoop reflects your creativity and patience.
Embrace the process and savor the satisfaction of homemade indulgence. With practice, you’ll find ways to make it even better. Whether shared with loved ones or enjoyed solo, your caramel ice cream is a testament to your culinary skills and passion for delightful treats.